


Saving frozen spinach and cauliflower with saag gōbhī
An express recipe to save frozen vegetables from spoiling, after my refrigerator and freezer stopped working. This one turns spinach and cauliflower into a great Indian-style, comforting curry.

Serves: 6 to 8 gourmets, depending on the sides
Preparation: approximately 10 minutes
Cooking: approximately 1 hour
We have a 21-year old side-by-side fridge freezer at home, which we bought along with other appliances and furniture while acquiring the apartment. In past articles, I wrote I considered the amount of frozen food in my freezer as an operational risk. I was half-joking. To mitigate this risk, we gradually emptied the freezer and the fridge, and we eventually turned it off before leaving for a hand of days. When we came back, I deep-cleaned the fridge and the freezer compartments. I returned from the grocery store with 11 kg of frozen veggies to help the freezer return to its set temperature: spinach, cauliflower, green peas, green beans, broccoli, chopped onions, zucchini, leek, and twice eggplants. When I plugged in the fridge freezer, it short-circuited. Half of the flat was powered down. And I could not find what was causing the failure. The timer started: it was a matter of hours, maximum a day or two until all frozen vegetables spoiled! It was time to cook. A lot.
The main way I eat spinach nowadays is in a saag aloo. My recipe requires potatoes (aloo), however I had none. Given my hands were more than full of frozen vegetables awaiting to be cooked, I discarded the option to shop for potatoes. I made the deal with myself to achieve whatever I could with what I already had. Mostly. I still returned to grab a root of ginger and a garlic head, without which the dish would not be so delicious. Since I had successfully swapped potatoes for cauliflower in my favorite dal, I decided to attempt the same here.
Disclaimer: in this mini-series, time and quantities are often approximated, because I was time-constrained. The countdown to wasting the food was ticking, and I was investigating how to repair the fridge freezer in parallel. I took no notes and I shot only few pictures. The articles of the series skip the usual “About …” and “Here’s a tip before you go” sections. On the other hand, they feature a new “Preservation” paragraph, specific to the constraints of having neither a fridge nor a freezer.
Ingredients
1 kg of frozen spinach
1 kg of frozen cauliflower
A small ginger root (5-8 cm long, depending how much you fancy ginger)
1 garlic head
3 soup spoons of ground cumin
4 soup spoons of ground coriander
4 soup spoons of ground turmeric
A lot of dried red chili peppers (this dish was solely intended for myself!)
4 soup spoons of vegan substitute to butter (hereafter shortened as “vegan butter”)1
2 soup spoons of oil (sunflower for example)
15 g of Himalayan pink salt (regular salt works, too)
The juice of half a lemon
Preparation
The great thing with frozen vegetables is that you don’t have to prepare them. In my previous saag recipe, I washed and chopped fresh baby spinach leaves. Here, the spinach were already chopped, and by the time I cooked them they had completely unfrozen (melted?). Same for the cauliflower, which was already chopped into separated florets. Since the Preparation steps below tie to the first Cooking ones, you have no other choice than proceed in sequence.
Peel the ginger root, chop it into small matchsticks
Peel the garlic cloves, slice finely width-wise
Half the lemon; save one, squeeze the other, remove the pippins
Cooking
The base of this recipe is two bags of vegetables, 1 kg each. I decided to use my glazed cast iron pot, which is large enough to accommodate the amount of ingredients, and which would accommodate spending the next night on my balcony, so it is sort of refrigerated until I eat it all. However, the plan ended up being different — you’ll read further. As mentioned in the Preparation steps, there’s little you can actually do until you’ve completed them. If you have a thick pot, you can however start heating it.
Heat your pot to medium flame/power
Add two soup spoons of oil, let it heat
Add the garlic slices and the ginger matchsticks; stir while they sizzle
Add a soup spoon or two of turmeric, stir to mix
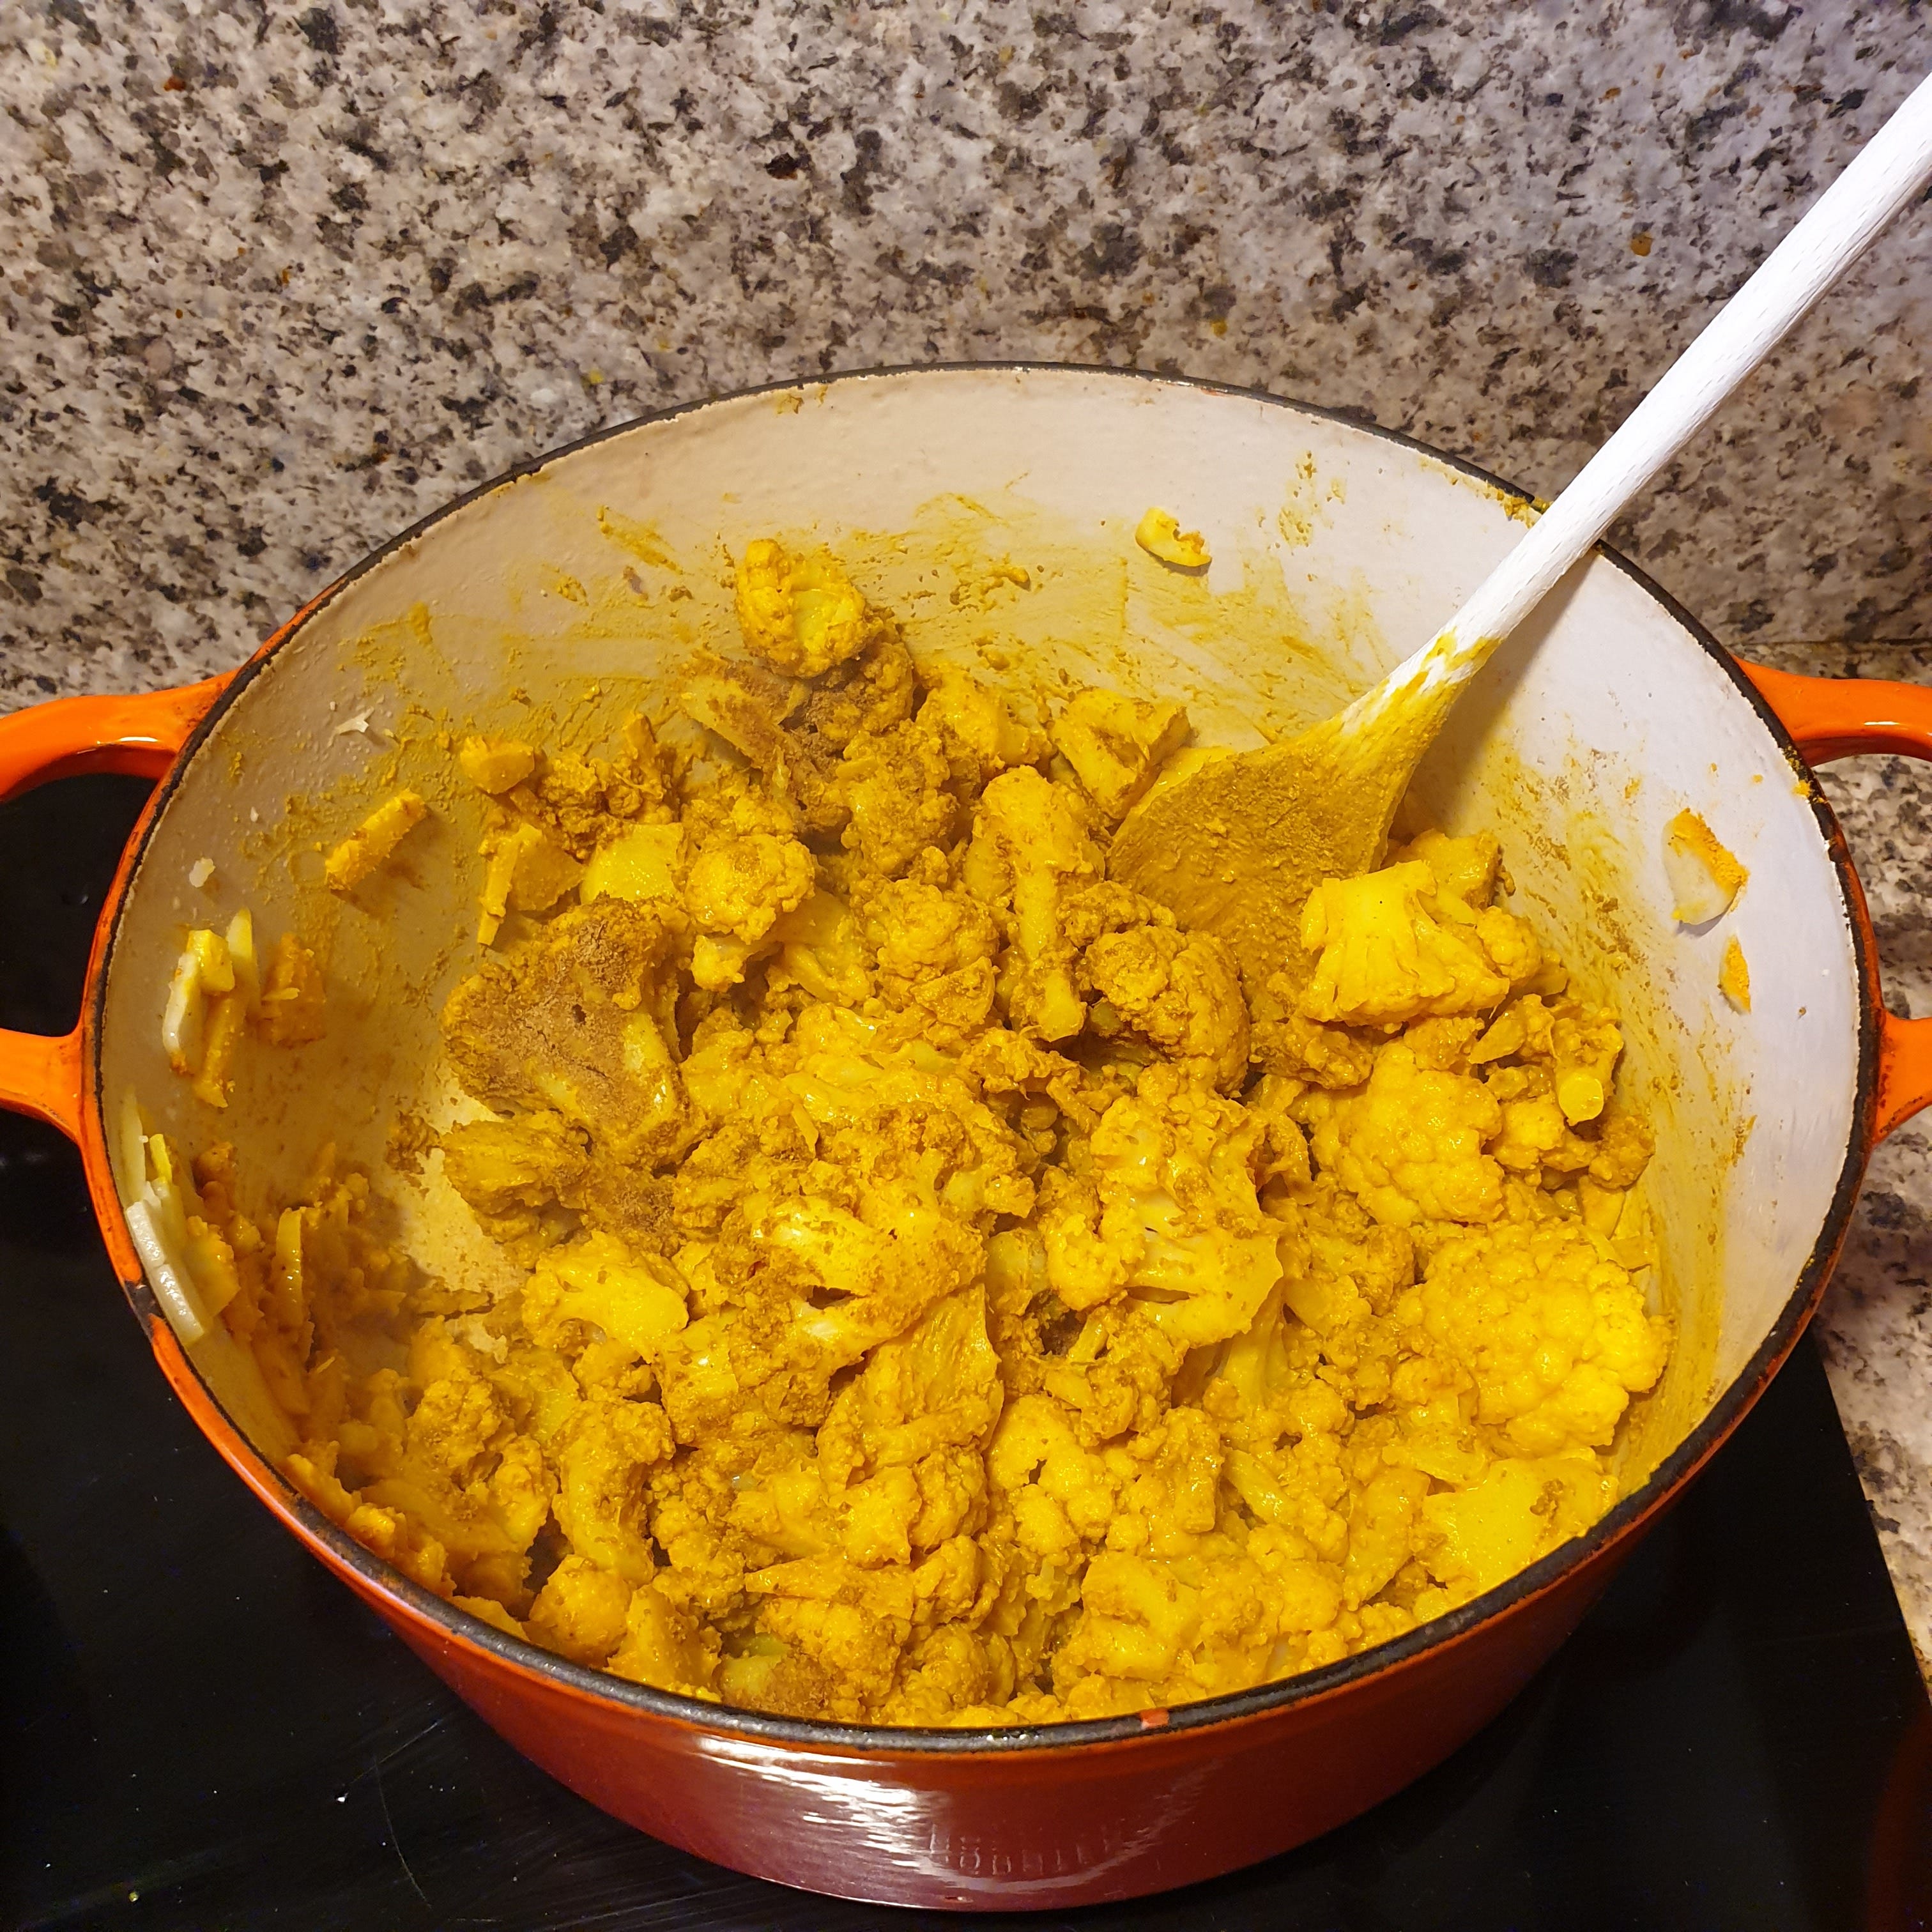
Add the cauliflower, stir to cover the florets with the turmeric-garlic-ginger mix; add vegan butter if you feel it’s too dry (if you’ve put too much turmeric powder, for example)
Add the spinach; if they’ve entirely unfrozen in their bag, you may notice whether the brand charged you for ice if the bag contains plain water beside spinach!
If your spinach are still frozen, add 1L of hot water, and cook until you no longer feel the presence of the frozen blocks when stirring
Add the dried chili peppers to the mix
Add 4 soup spoons of vegan butter; stir gently until it has melted
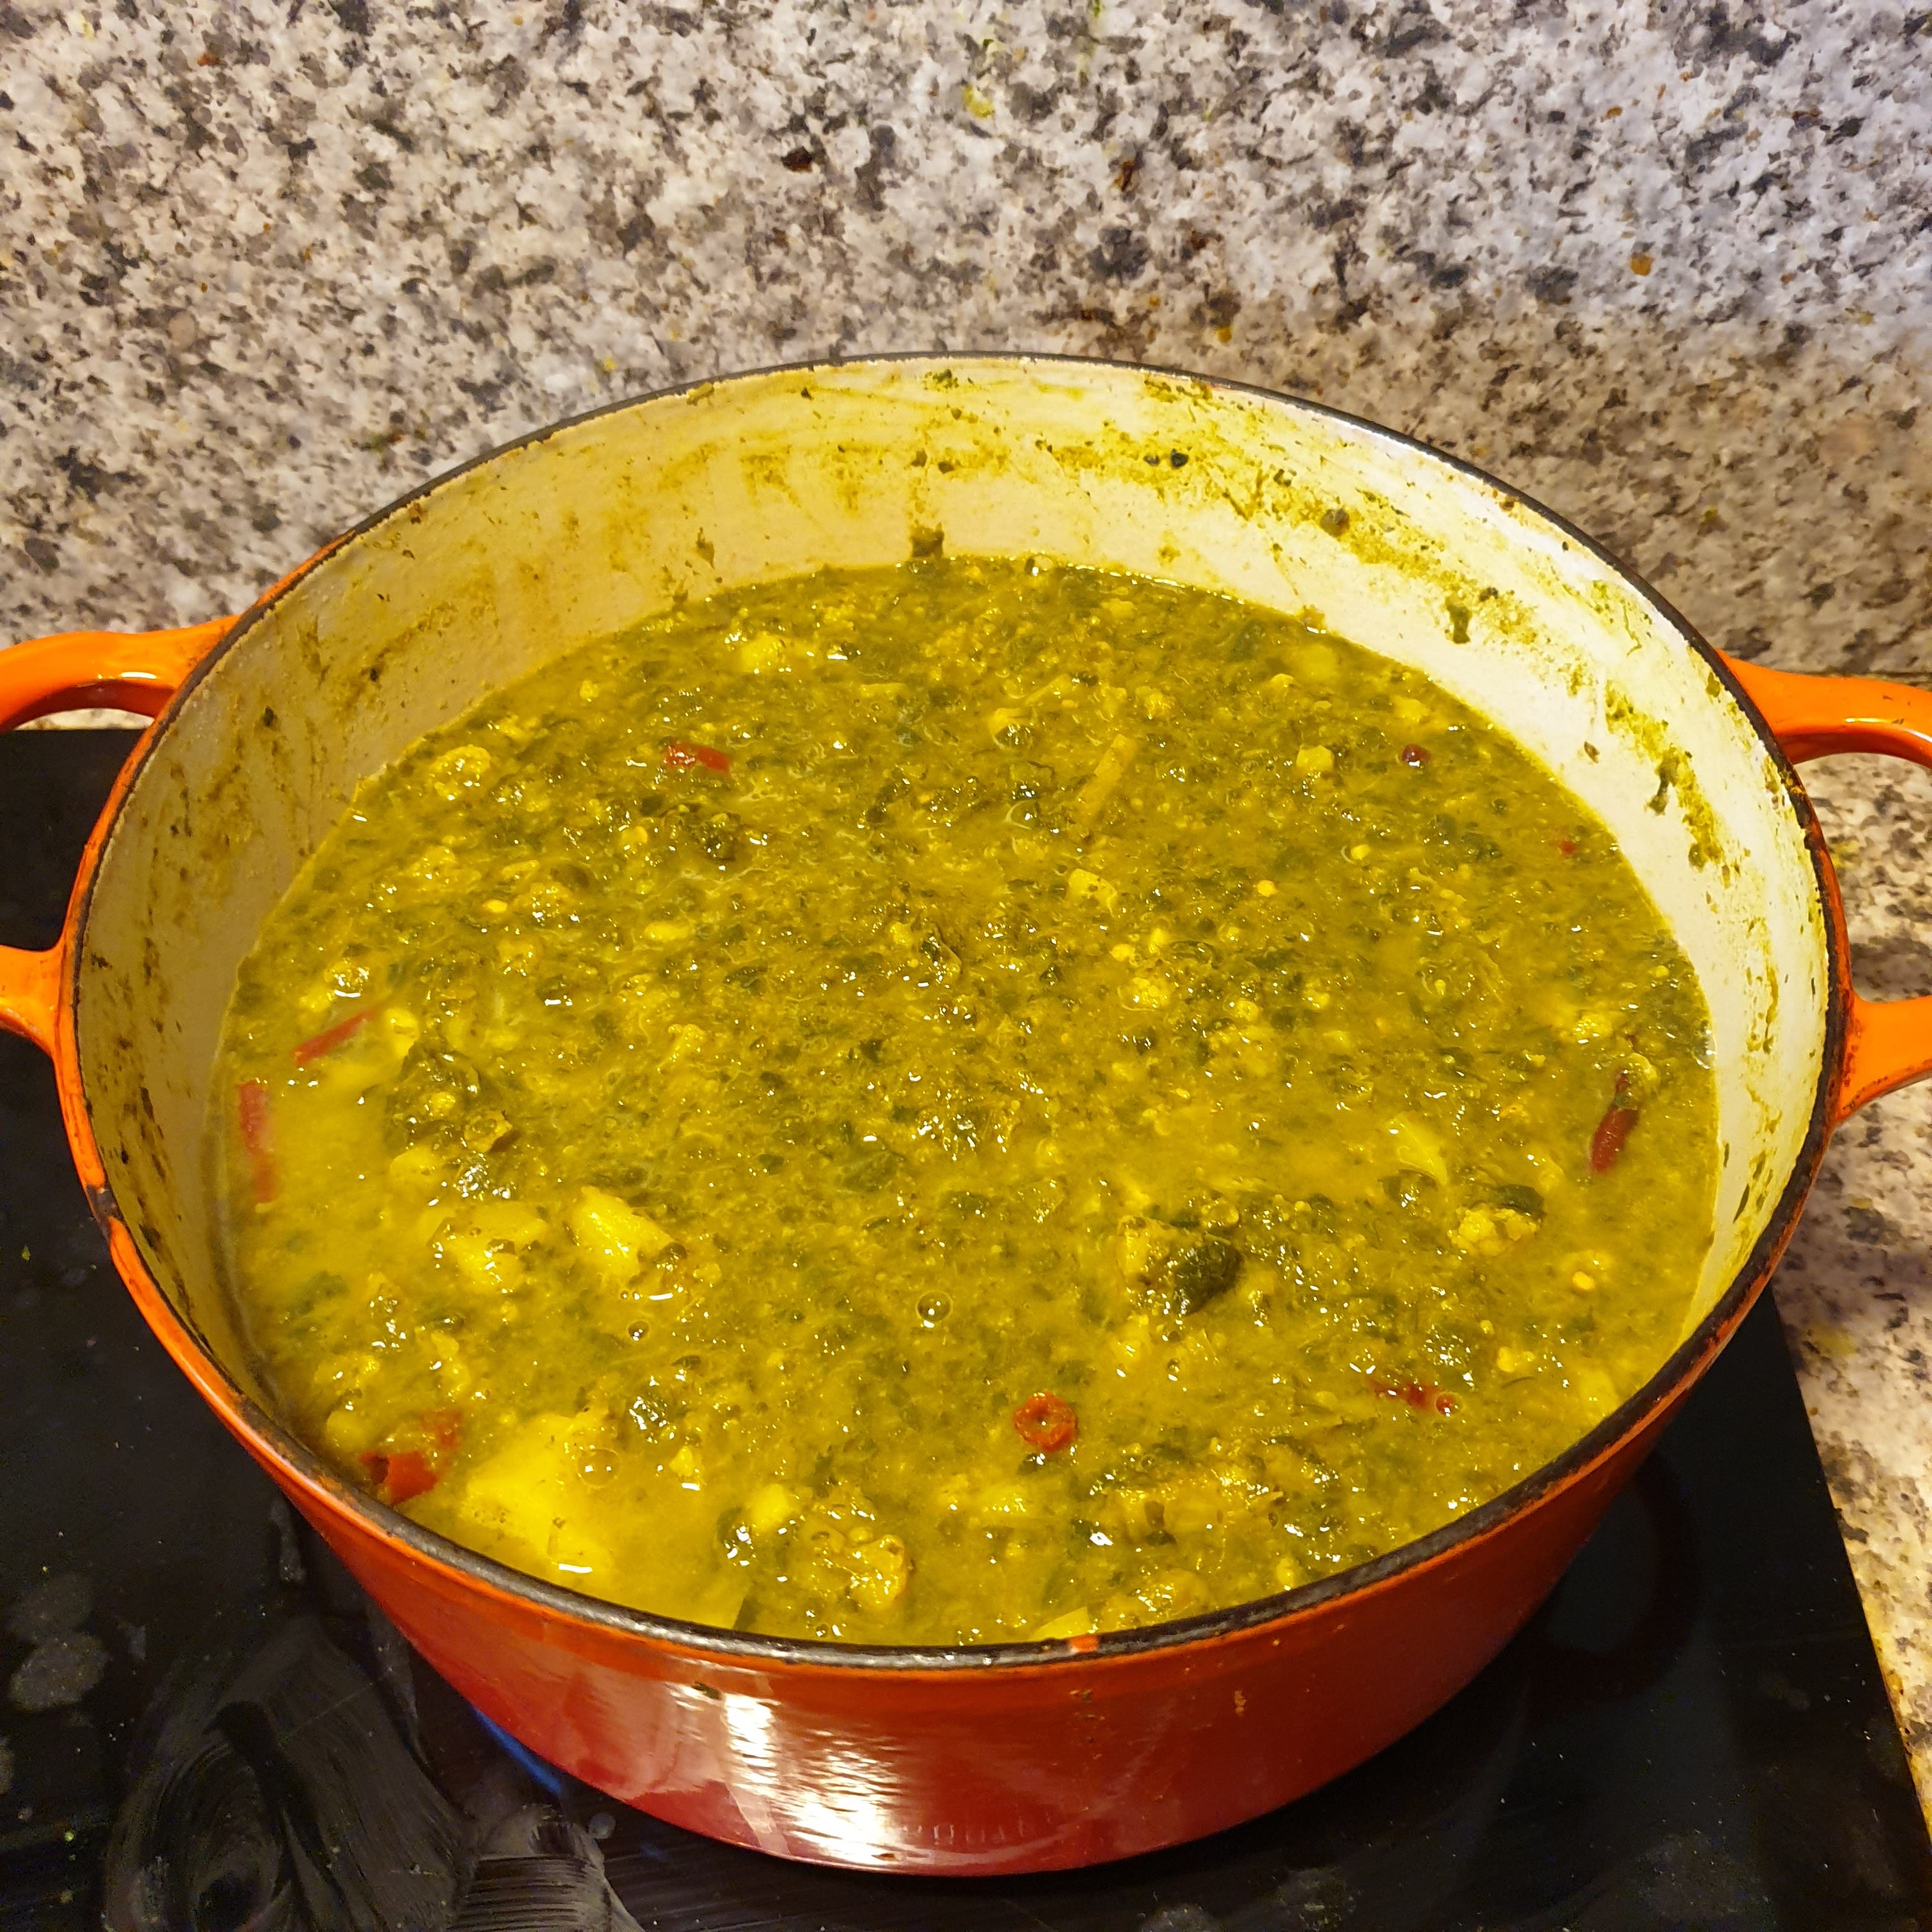
Add the ground cumin and the ground coriander, and what’s left of the ground turmeric; stir, then close the lid and let it cook for 30 minutes
Add the salt, lemon juice and garam masala; give a good stir, close the lid, and let it cook for 5 minutes
There’s nothing complex with the Cooking steps above. They just take time, and they require you check in from time to time from step 6 to verify if the frozen spinach still has its shape. You’re also encouraged to verify the heat is adequate so it cooks without burning at the bottom. This is especially needed when adding the turmeric powder, because a turmeric oil paste is far from a delight. Frozen cauliflower helps, compared to fresh one (or even fresh potatoes), in that it softens quickly, releasing water — which, unfortunately, also makes it less flavorful than its fresh counterpart.
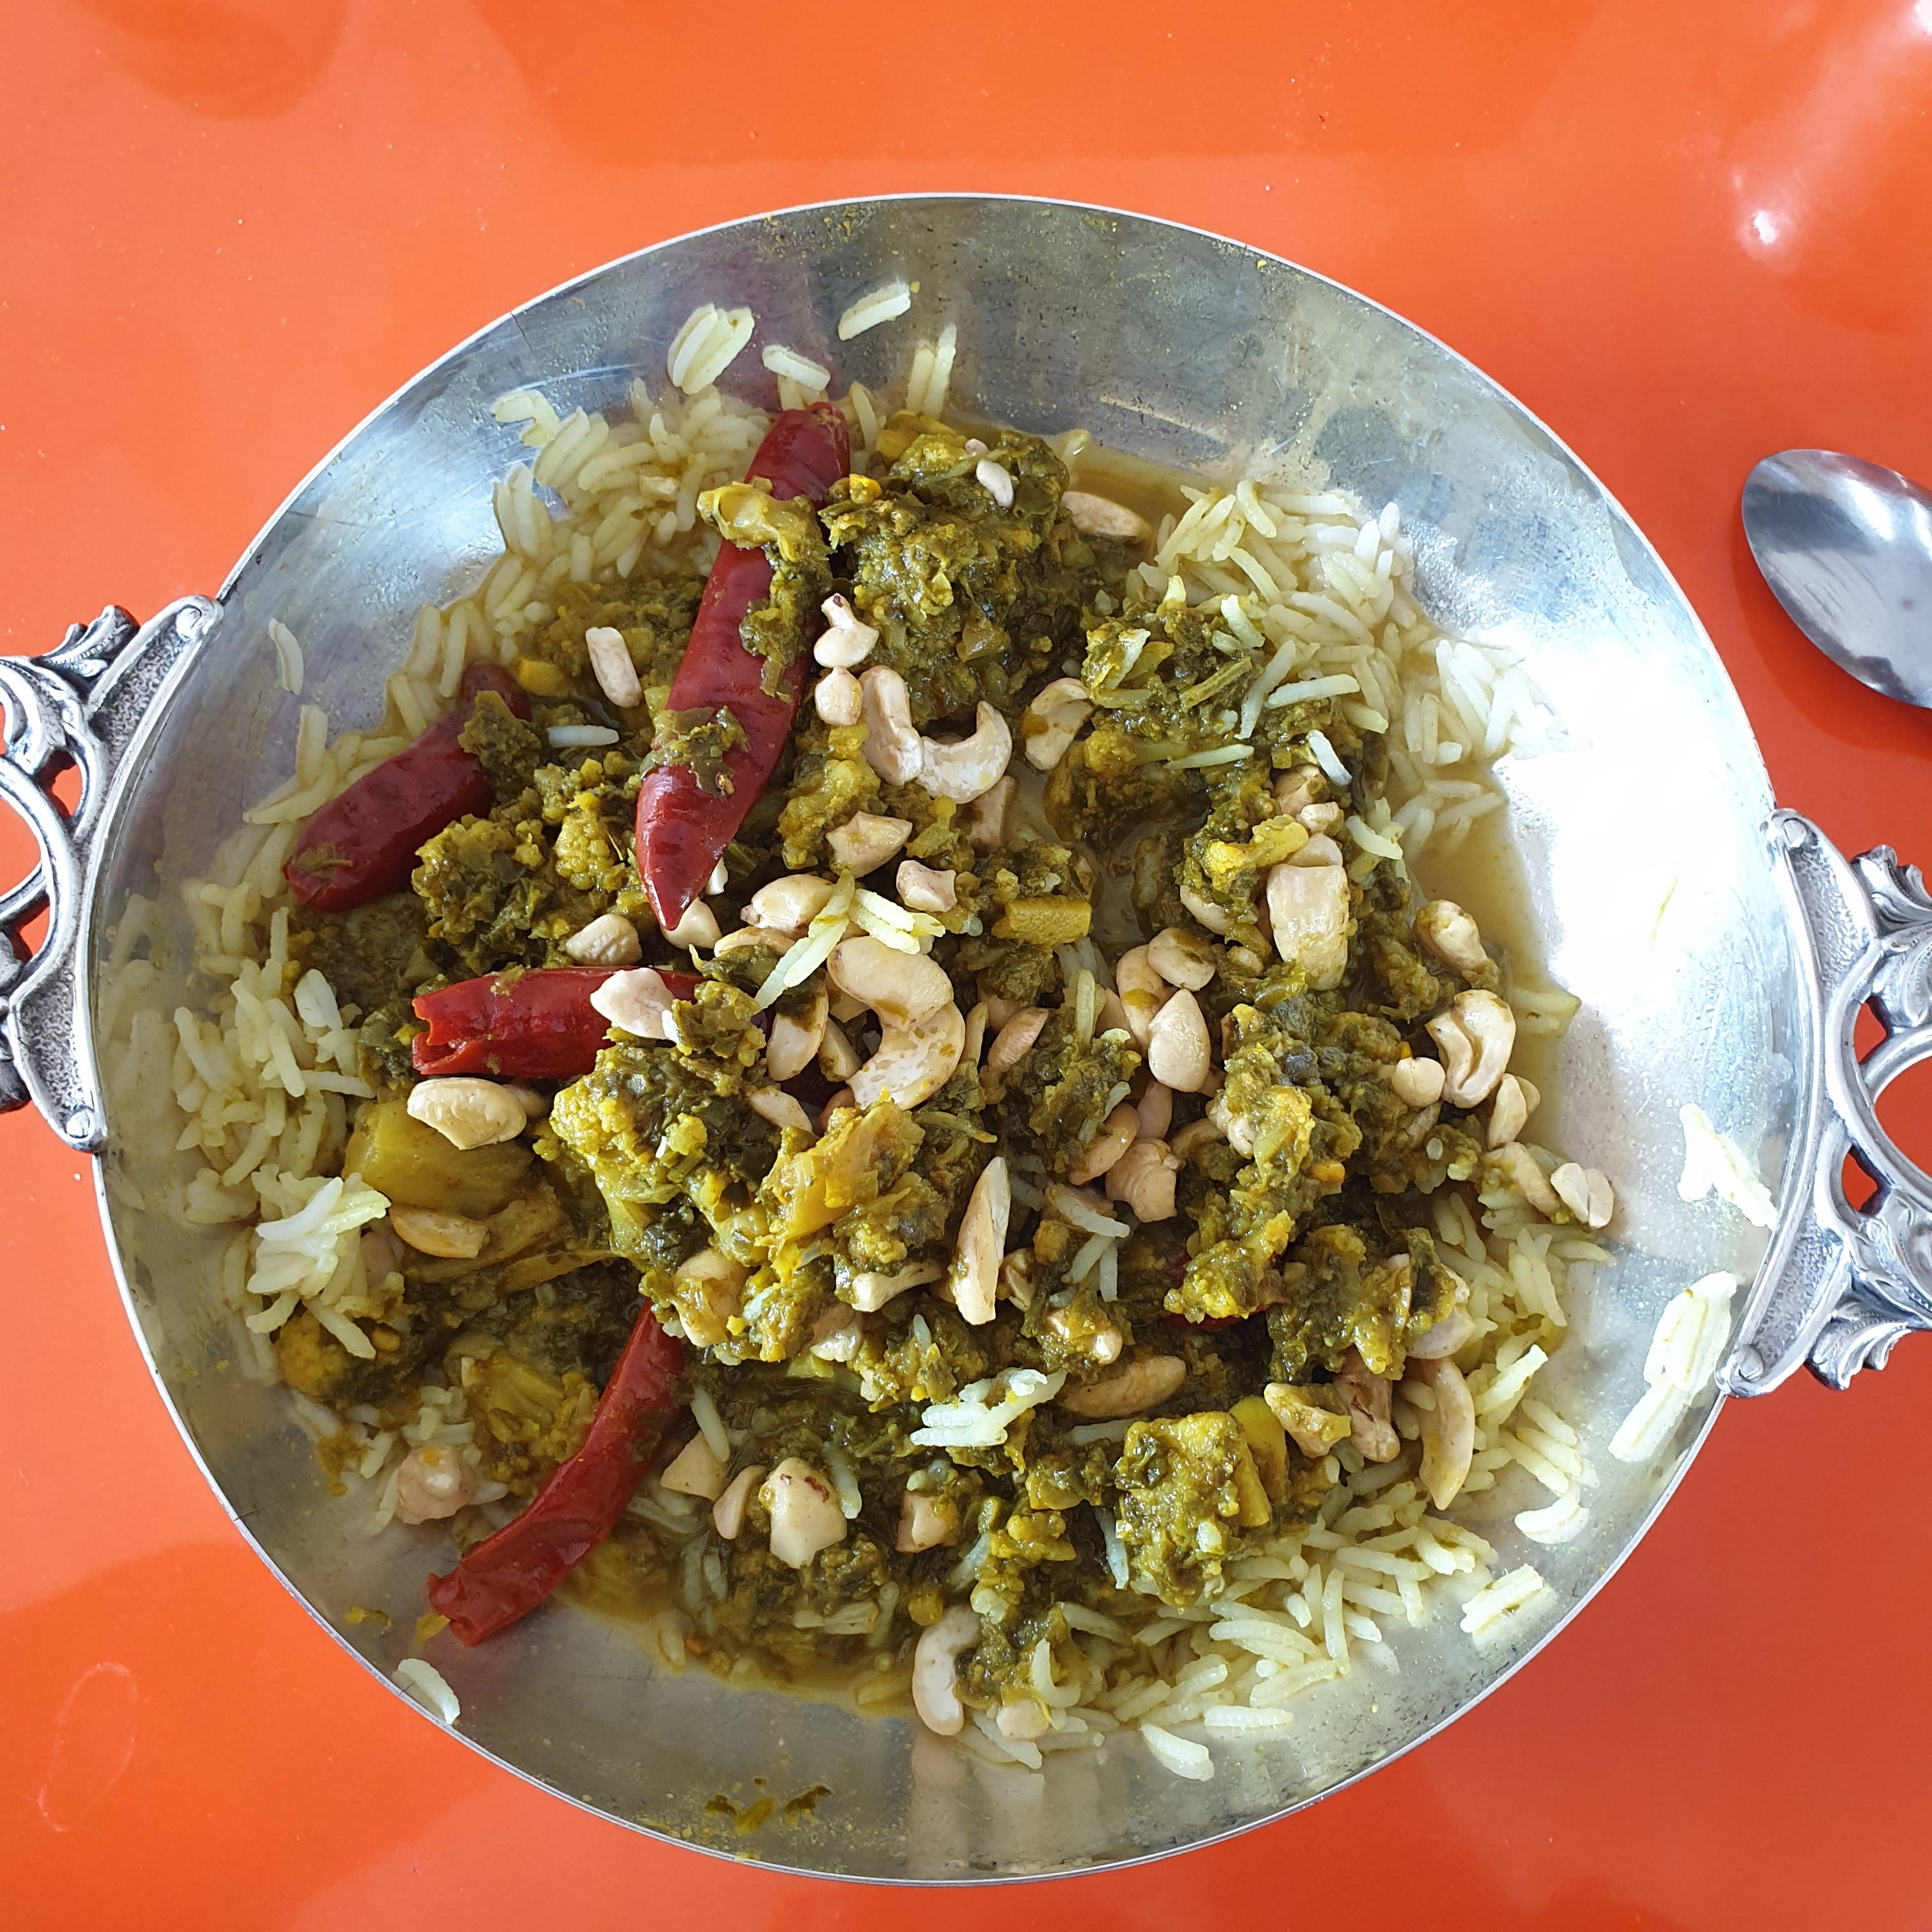
You can serve as soon as you complete the Cooking steps. As pictured at the beginning of this article, I enjoyed it with plain white basmati rice and broken cashew nuts. Given the amount of food this recipe yields, and knowing I would be alone to eat it, I wondered from the start how I would be able to store it securely.
Preservation
With neither a fridge nor a freezer, I had to find another way to preserve the dish I had cooked. There was no way I could eat so much within the next 24 hours. While I started preparing and cooking, I was playing in the background online videos found with the keywords “living without a fridge”. I don’t remember if it was Marie Cochard, author of the book “Our life without a fridge… or close to” (original title: “Notre vie sans frigo… ou presque”; translation is mine), who mentioned it in one of the videos, or if it made me think about, however I was inspired to use jars.

Without a fridge, it’s a good idea to turn to traditional food preservation techniques our ancestors used. They were cooking, likely more than most of us, and they did not have a fridge. By “ancestors”, I don’t mean those who lived before 1900. Although domestic refrigerators were introduced in 1913 in the US, it became a common appliance in households only during the second half of the 20th century. Our grand-parents (grand-grand-parents for the younger of readers) did not have a refrigerator until a point of time in their life.
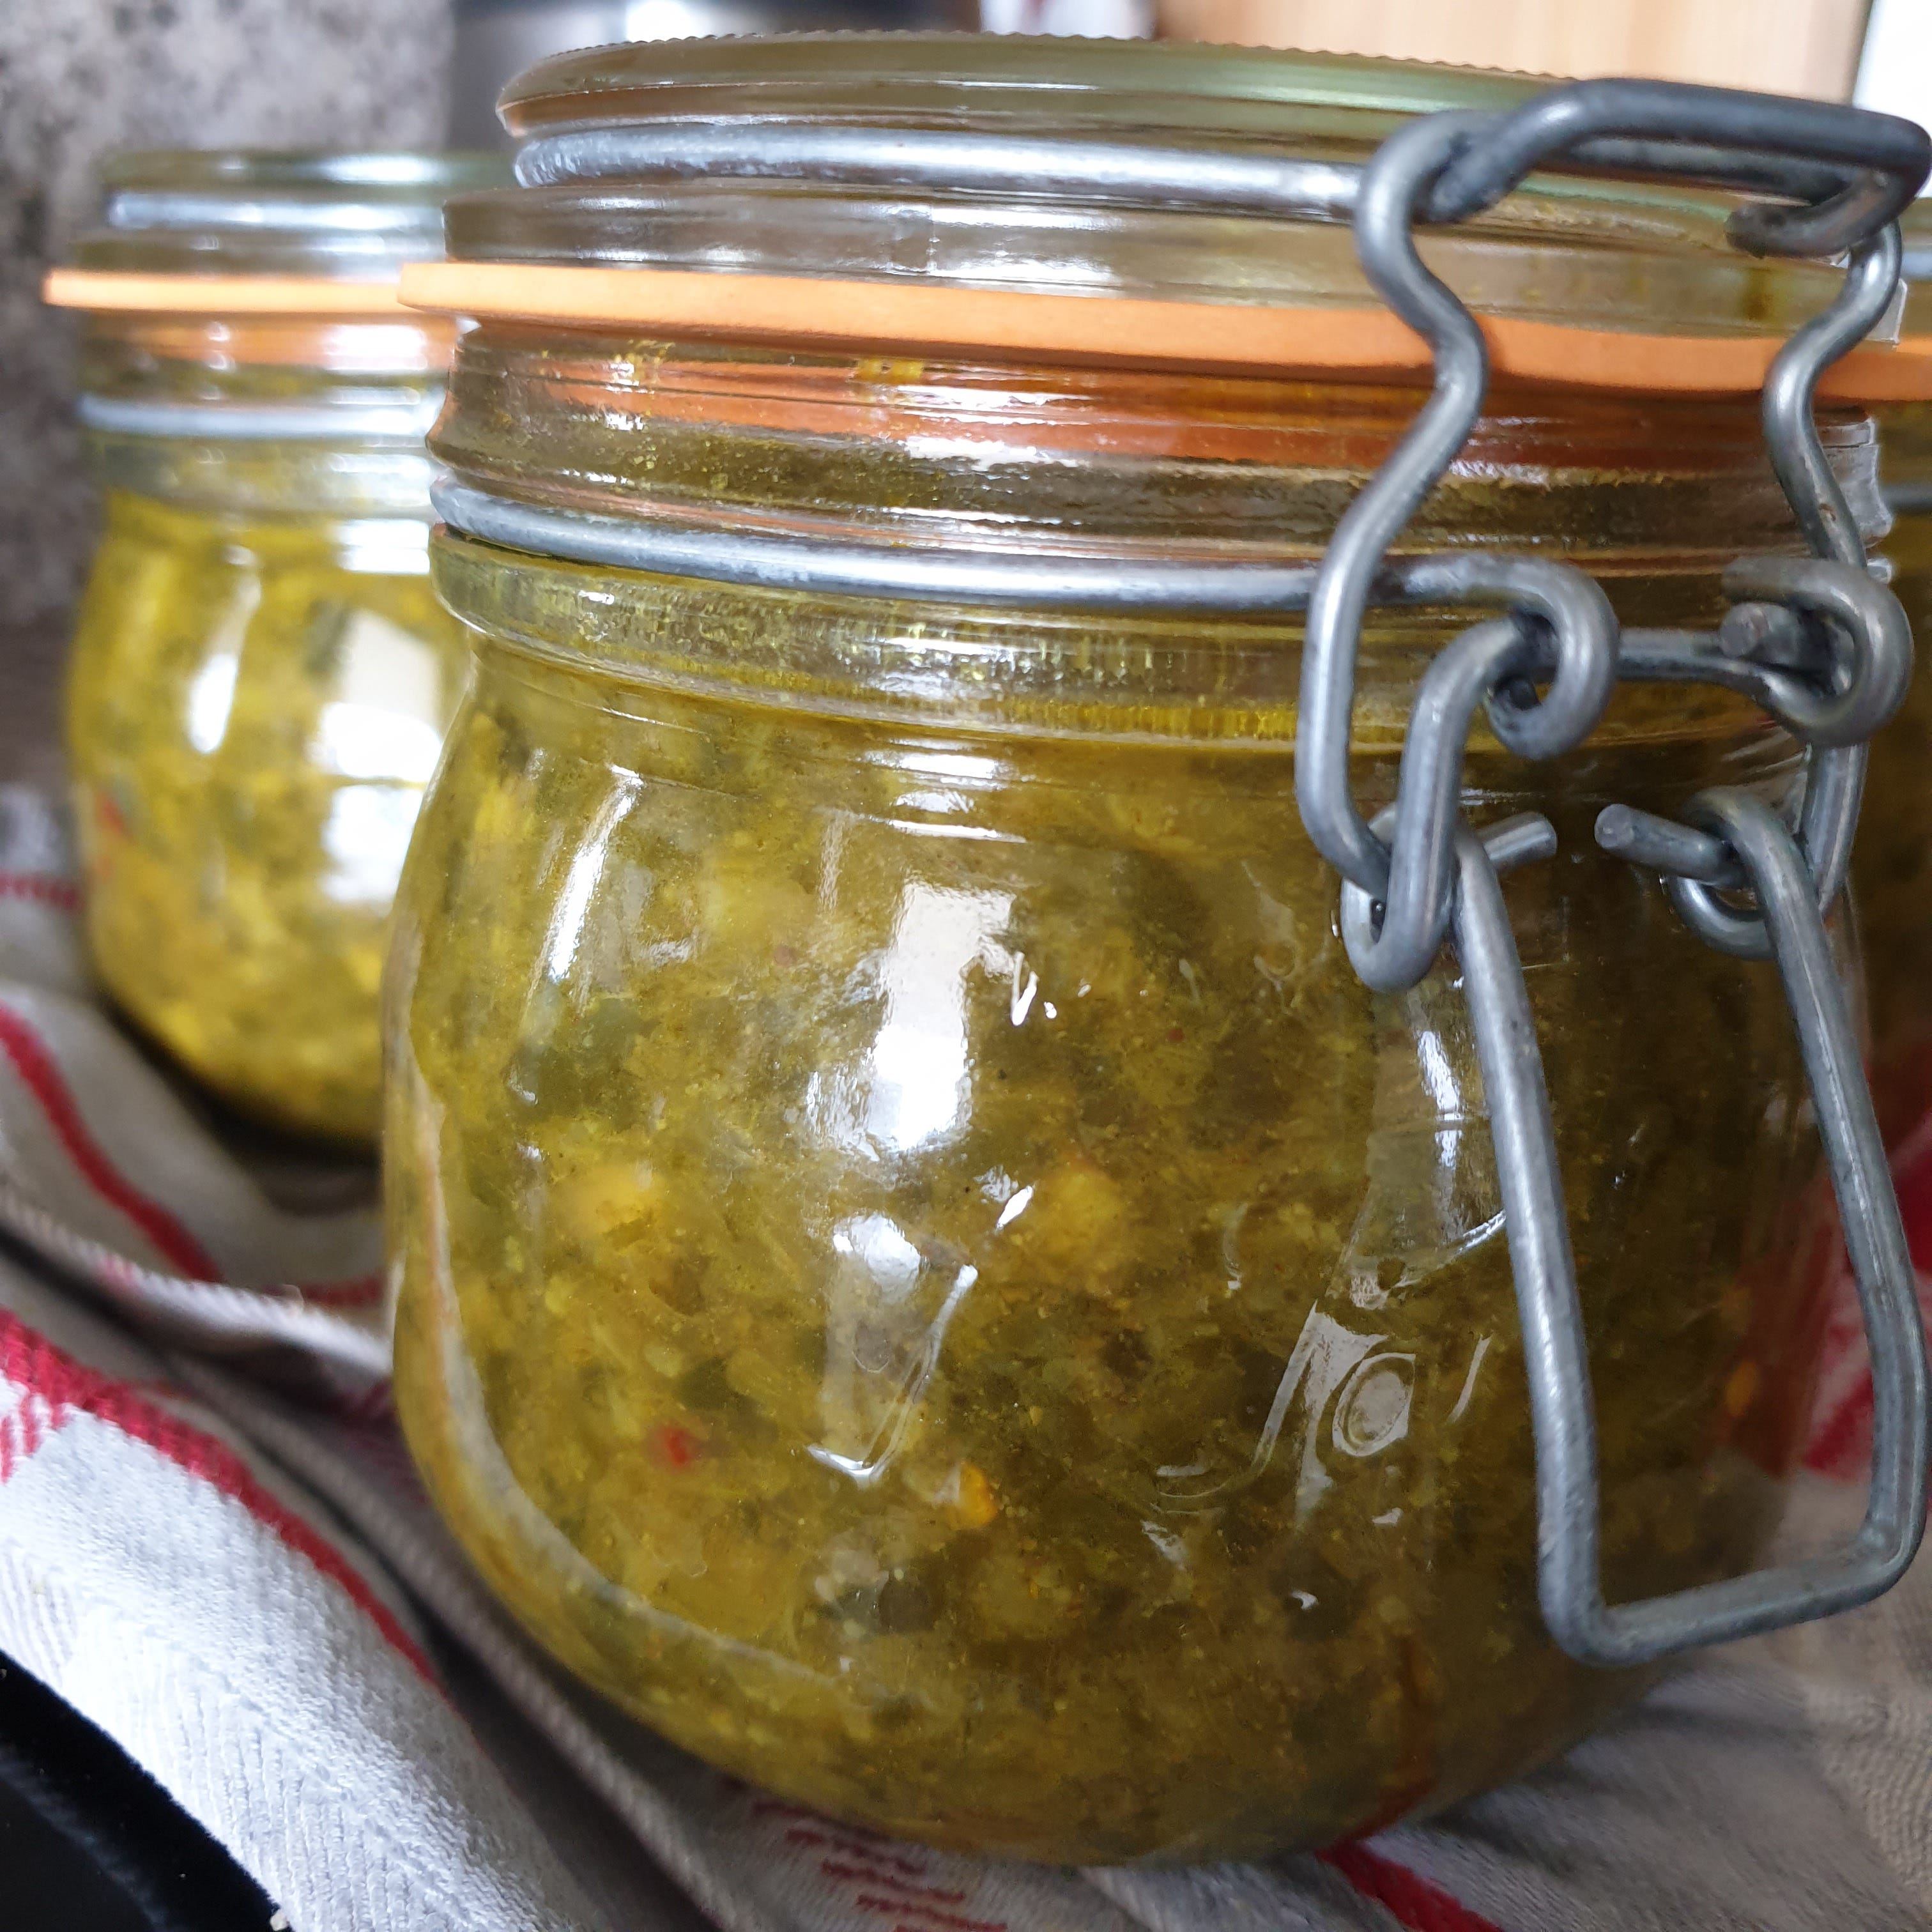
I was going to experiment with canning for the first time. I documented myself quickly about the steps to follow, and I did my best at cleaning and sterilizing the jars. Read “my best” and “first time” as “I did it approximately, and I found what I did wrong afterward”. I plunged the entire jars, opened so they were full of water, into hot water I then returned to a boil. Yes, I left the metal on the jars — don’t do that. I plunged the sealing rings into the same water, to sterilize them too. I removed the jars from the water, and I carefully filled them. I sealed them, then I put the closed jars back into the boiling water for 10 minutes.
I heard in a video it was a good idea to turn them upside down while they cool. I learned this applies to jars featuring a screwing cap, not a ring and a lid. The heat force pushed liquid out, and the surroundings started to turn green. A beautiful, spinach green. Lesson learned. When I told my mother she laughed.
With my jars ready, I felt more relaxed. They granted me extra time before the cooked food spoils, possibly months if I had done them right. Of course, I still had other vegetables to cook.
I cross fingers you never have to fast-cook such amount of vegetables. Even if you never get into the same situation, you may find yourself with an unplanned meal to prepare, with little options — in such case frozen vegetables can surely help. Don’t take my first experiment at preserving with jars as a manual: educate yourself separately, be careful, and consume the content of your jars quickly.
If you’ve tried the recipe, and would like to comment (whether you loved it, or hated it), please do so! I’m welcoming ideas, even if it will take a while before I can resume with my cooking pace. I need to find a new freezer, first! Stay tuned for the next “episode” in this mini-series about saving frozen veggies with express recipes.
Be cautious: vegan alternatives to butter may contain soy, which is a known allergen